|
Today, despite being a Monday, was my Sunday. Sunday is my meal prep day! It's one of my favorite days of the week. I think my Sundays would be a hell on Earth for those that don't enjoy cooking, cleaning and organizing but I happen to LOVE being in the kitchen. This week is especially busy between social activities, board meetings, Lacrosse Booster Club meetings, fundraising events, working out, and the time I usually spend staring off into space. These are the weeks where planning and organizing my meals is especially important as I won't be home enough to plan out and execute healthy meals. I need things that are easy and I can grab and go. Menu:
This will give me breakfast, lunch, and healthy snacks until Friday. With everything being Vegan, there really isn't anything that will go bad so the longevity of the meals is fairly extensive in comparison. When I cooked with meat - I had a 1-2 day window (at most) where I'd be willing to eat leftovers or transform left overs into a new meal. It was a 1 day window if I had made something with seafood so me not eating meat / seafood / dairy is an amazing thing from a cost savings perspective. BREAKFAST: 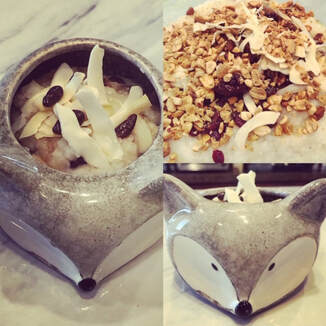 Breakfast Congee: For those of you that aren't familiar with the greatest most versatile meal on Earth - let me introduce you to congee. Congee is essentially a rice porridge made by boiling rice in a shit ton of water. Like more water than you'd think appropriate. Get to that point and then add more. It beaks down the rice into a pudding-like consistency. Serve it sweet or savory. It's a blank canvas for really anything. This is a breakfast congee so I added sweeter elements to mine. Congee is often used to promote good health and strong digestion. According to TCM, because congee is so easily digested and assimilated, it harmonizes digestion, and also supplements blood & qi (life energy). Congee can relieve inflammation and nourish the immune system. I actually didn't think of stringing those words together - Scott told me all this like a year ago and it has been widely published in many journals of Cancer & Nutrition, etc. For me, It's just really yummy ... all the other stuff is added benefit. INGREDIENTS:
HOW TO:
TOPPINGS:
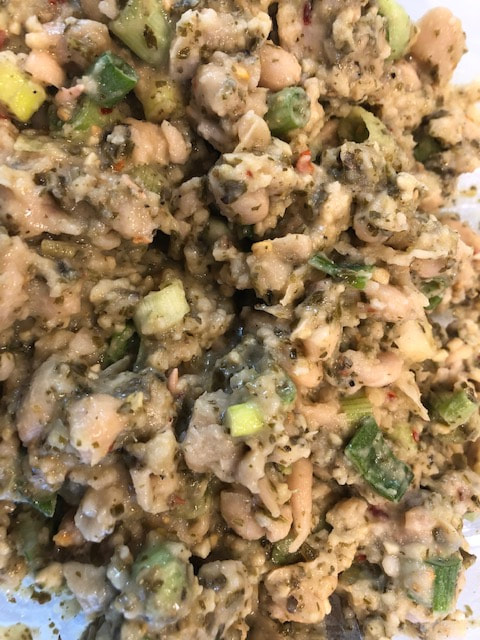
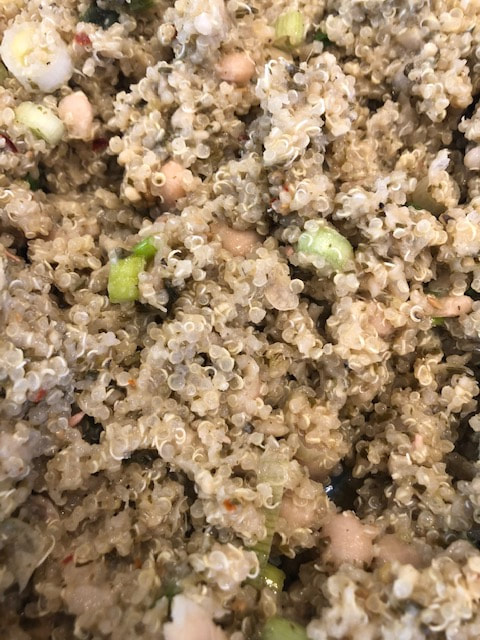
For meal prep- I portion out 4oz which comes to about 270 calories - you'd think with everything I put into it it would be massively high in calories but it's not - I throw in enough to give it great taste and texture but I'm not eating a bucket full of this. Very careful with the portion size. LUNCHES & DINNER Quinoa & White Bean Burgers This is another recipe that really encourages you to do whatever you want. Look in your pantry - don't have cannellini beans - so what, use black beans and make it a Mexican spiced burger. INGREDIENTS:
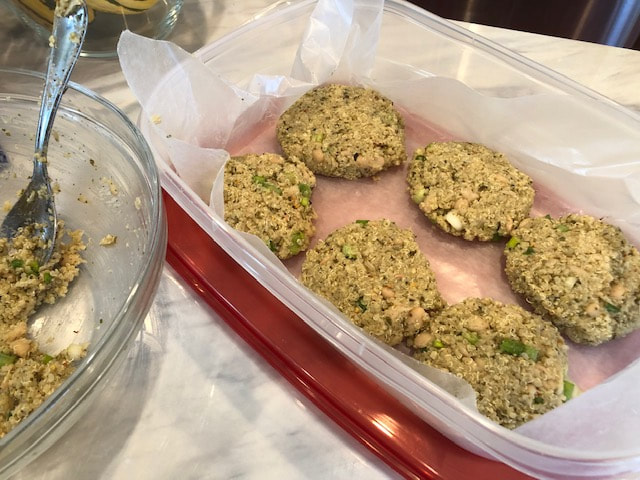
I had a jar of pesto on hand so that was the primary flavor profile in this week's burger. Note: If I hadn't used pesto which has a high oil concentration I would have added a few tablespoons of Olive Oil to help bind the mixture together. HOW TO:
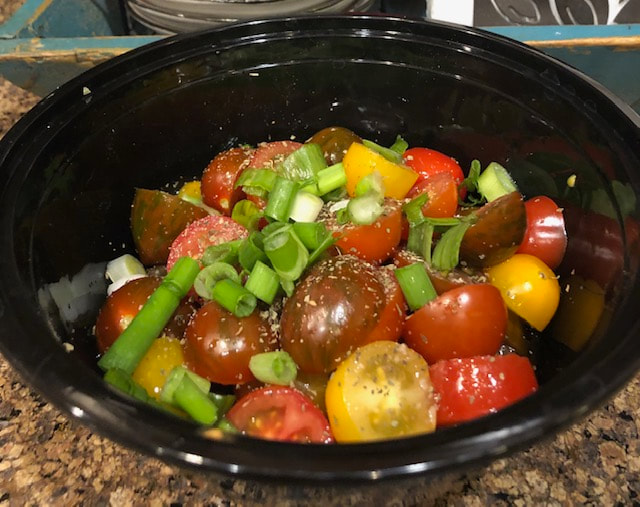
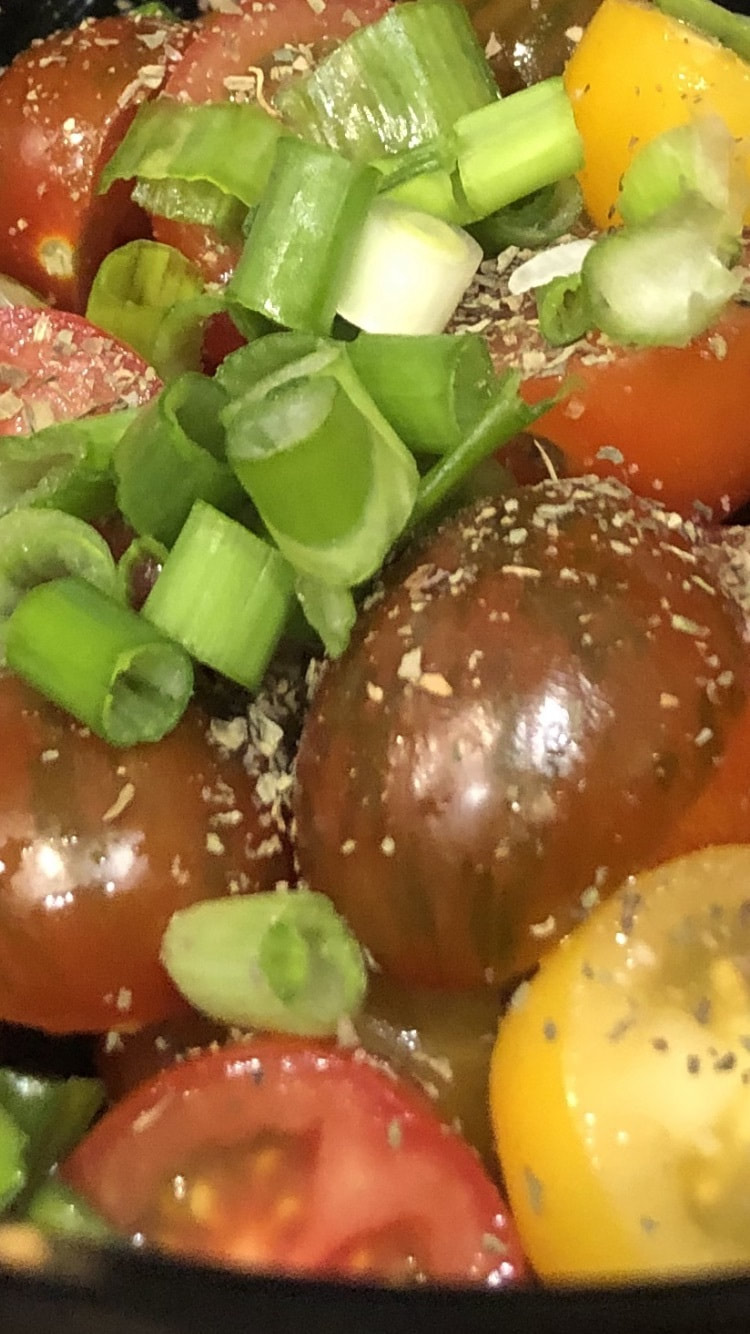
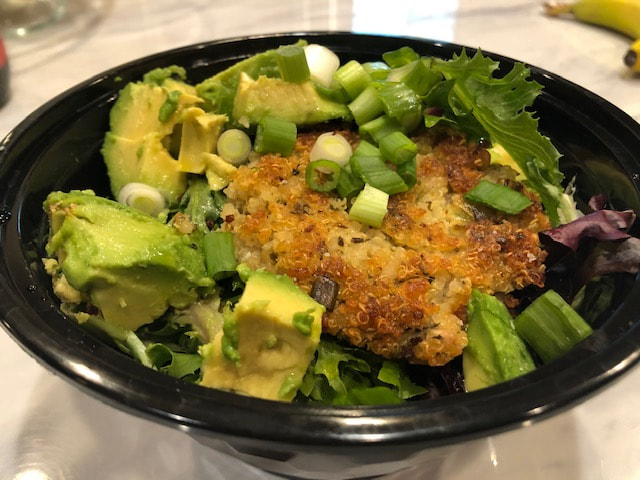
Hot pan and a bit of oil - Sear them on both sides which will actually crisp up the Quinoa - they have the most amazing texture. I do a few things with the cooked patties: 1. Burger obviously - I may use a bun or most likely a lettuce cup 2. I add them to salads like a deconstructed burger (sans Bun) The salad is my lunch tomorrow (estimated calories = 260 calories) The burger was my dinner tonight ... when I thew everything into MyFitnessPal - dinner came in around 434 Calories because I added avocado, the greens were dressed in olive oil and lemon, and I used a potato bun (130 calories), etc. The actual burger is 130 calories. SNACKS: This week I'm having tomato salad and roasted delicata squash as my between meal snacks ... Both insanely simple and fairly calorie net neutral. Tomato Salad:
 Roasted Delicata Squash
Greatest thing ever: One evening, I went next door to my amazing neighbor's house and saw that she doesn't remove the seeds when she cooks her squash. I would have never thought to do this which is so strange as I love eating roasted pumpkin seeds so why not leave them? It really makes these so much better and texturally interesting as the roasted seeds compliment the buttery softness of the squash. I love squash and somehow this little trick makes me love them even more, which I never knew was possible. 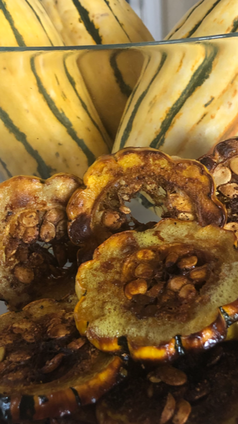 Sliced relatively thin, seeds and all - I tossed these in olive oil and sprinkled them with:
Roast in 370 degree oven for 35 mins - flipping at half way point. I'm almost certain that you can't easily find delicata squash this time of year - buy Acorn - it's the exact same process just a slightly different shape. How do I have so many you ask? Because my neighbor bought several cases of them when they were in season. They will last months and months. I actually bought a case but had eaten all mine. I feel that I should ration them out so I can make them last a bit longer but it's one of my favorite things to eat. I don't have a great deal of self control in general so we'll see how long they last. As a final step after cooking is to portion everything out into individual serving sizes. I weigh everything. I tend to stick to 4oz portion sizes unless it's raw vegetables, then I will eat usually as much as I want. I'm not stressing over the difference between 2 cups lettuce versus 3 cups but I do watch what I put onto my raw vegetables. I don't avoid fat as it's an essential part of maintaining a healthy body & brain. In my current approach to eating, I'm entirely plant based, eat no sugar and try to limit my refined carbs. I am comfortable with small portions of whole grains such as quinoa, millet, etc. But I'm not going to freak out over eating a potato bun with my veggie burger. Combined with what I eat is WHEN I eat - I eat between 10 am and 6 pm. That also explains why I need to be in bed by 9:00 pm and watch television in my bedroom. Otherwise I get very snacky and make my way into the pantry. I'm up late tonight and am starving. Will have a cup of warm water with lemon and call it a day. Enjoy your week!!
2 Comments
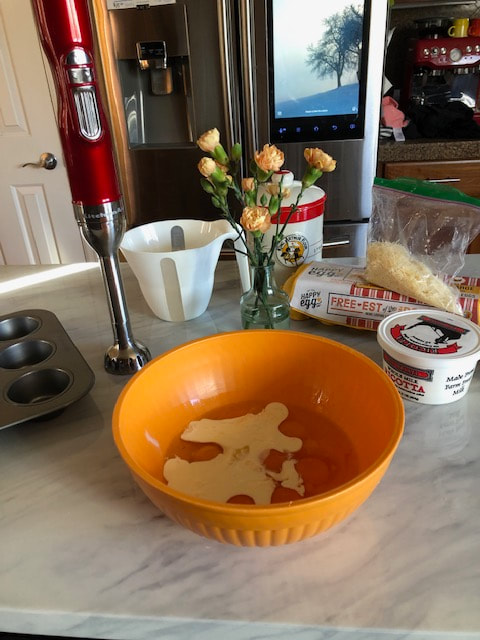
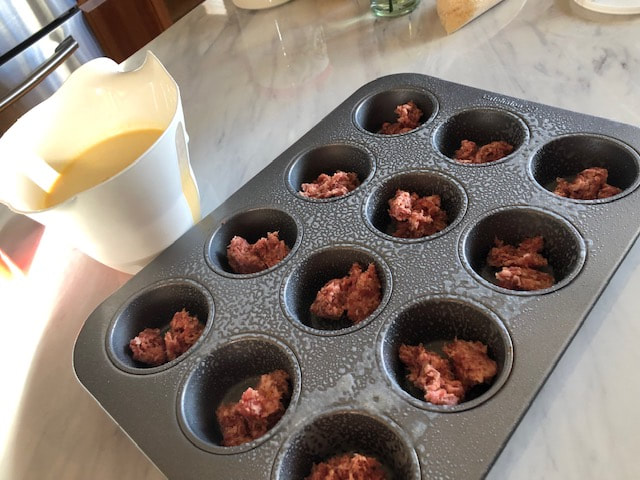
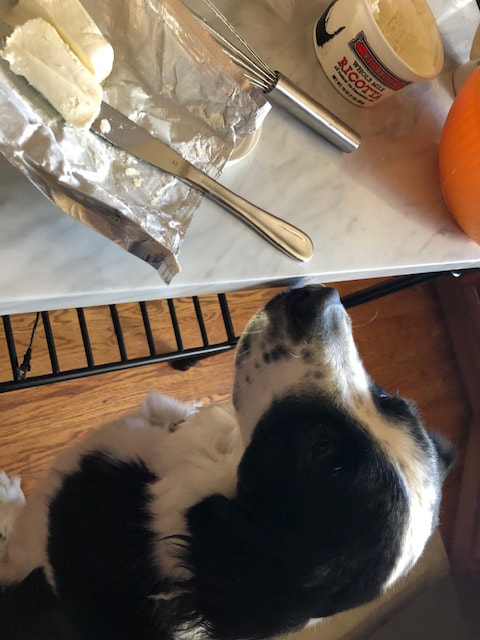
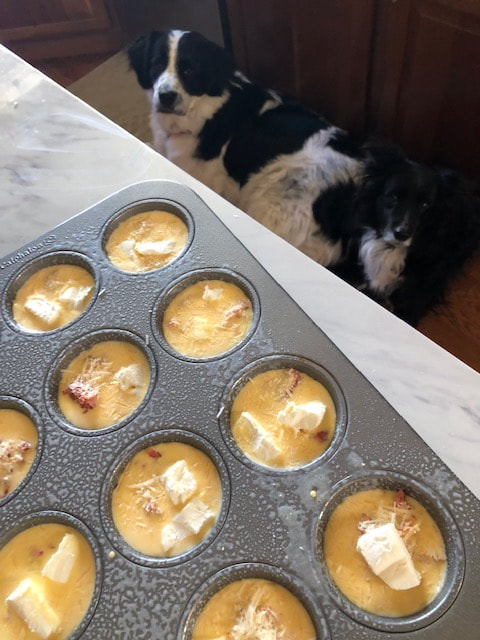
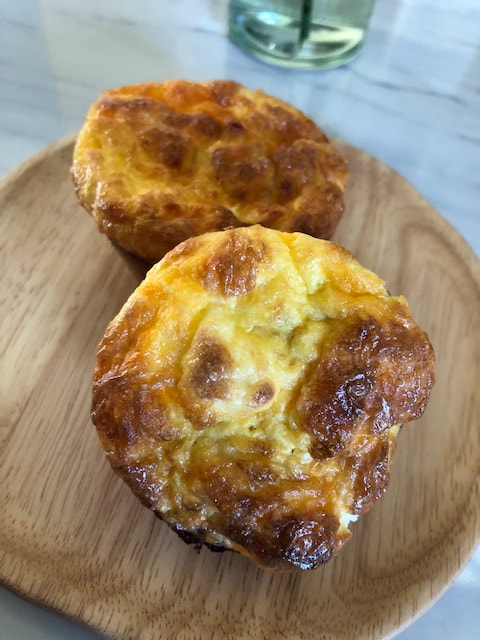
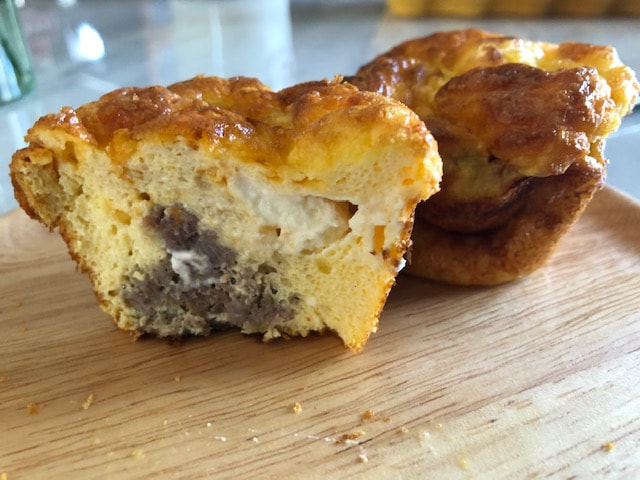
January was an absolute crap month for me - I was dealing with deadlines, travel and being so overwhelmed with my daily life that I wasn't able to do my typical meal prep / planning. I didn't work out, I didn't spend anytime on my pilates practice and my morale was in the crapper. It's no longer January - the month of bad decisions ... It's February which means I'm back to my normal routine. Thankfully. Meal Planning & Prep is a huge component to my success but I don't have a ton of free time so I need easy and delicious go-to's that I enjoy and keep me on track. Nothing is easier or yummier in terms of creating easily portable and Keto friendly meals than Egg Cups. Most Sundays I make different versions of Egg Cups as I find if I have them at the ready, come Monday morning, I can just grab a portion and head out the door. This reduces the chance I'll grab a ketosis killing snack at the office. Anyone that works for a software company is familiar with the typical start up company kitchen - they are always crammed full of pop, snacks, sweet treats, beer, etc. Combined with lunch being brought in many times a week - there's temptation at every turn. With a bit of planning I can stay on track - these are one of my favorite items to have on hand. Today I made Sausage & Ricotta Egg Cups: Ingredients:
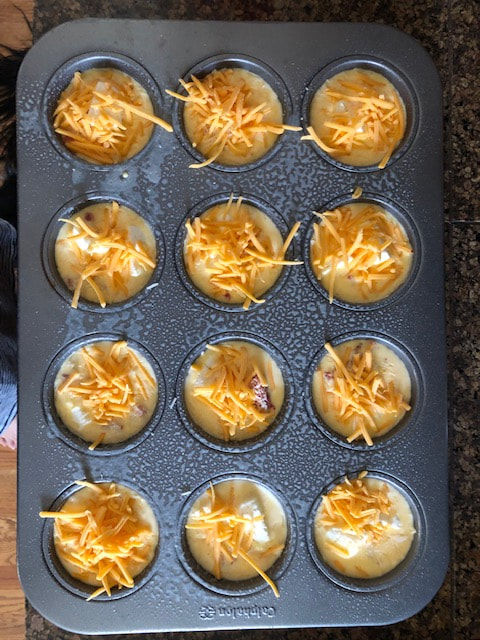
Place in a preheated oven (375) and bake for about 30 mins. You'll know they're ready when they have risen, are firm to the touch, and the cheese is a beautiful golden brown. For those of you that have shared that I use too much cheese - I think you may need to take a step back and really evaluate your life through a critical lens. Something is wrong. I'm worried about you.
 I announced I was going gray 15 months ago. Woman have to announce such things as people will become concerned that we have abandoned all self care if our roots become too long. So, this was me - 15 months ago on the day I announced I was going to just let my hair go gray. By this time my home had been chemical free for years - I make most of my cleaning supplies yet I was still coloring my hair, religiously, every 3-5 weeks. 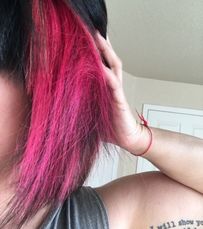 I didn't go in for just touch ups - I went in to go from black to gunmetal gray or to color the underneath layers a bright color such as pink / blue / green, etc. I loved changing my looks, I loved how it made me feel, I loved people's compliments & reactions. I always loved how a new look could make me feel fresh and new when perhaps things weren't going so well and I didn't much like certain aspects of my life, at the time. Color is like the "Break Up Hair Cut" only not as hard to grow out. That said, I was having a really hard time reconciling how uncomfortable I was using chemicals in my home but I was still slathering them all over my scalp / hair. It just seemed like I should be more concerned with what I put on and in my body than what I used to cleaned a toilet. I made the decision after thinking about it for a bit so I texted my hair stylist Jenna and we came up with a plan! Once we had a plan, I shared my plans on a few social sites and with people at work. I found people were very divided on the topic. Here are some of my favorite comments / concerns:
Few concerns aside, I found most everyone to be super supportive. Strangers stop to tell me how much they love it. A few days ago a guy stopped me in a stairwell to tell me how great my hair looked - he thought I colored it! On the way to Boston a woman at Starbucks ask how long I had been growing it out and I could see her working those numbers in her mind so perhaps I'll bump into her in 15 months and we'll be twins! I do get a good bit of "I'd love to do that, but ... " and I always ask why there's hesitation. If you love it - do it. Many just say that they can't ... maybe they are worried about not being found attractive or maybe they don't want their gross troll husbands to be repulsed? Girl, Go Gray If YOU Want. 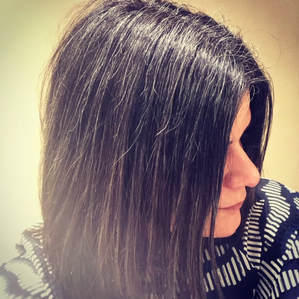 Anyways - here I am as of today - I was standing in a bathroom with the harshest light ever and I looked in the mirror and I had a moment where I realized just how much I love my hair. I love it. I love the way I look, I love how gorgeous the silver and white bits are. I love how it all blends together and looks as though I have strands of Christmas tinsel woven into my hair. Best Decision Ever ... AND ... I have saved nearly $4000.00(WHAT?) Transition Tips:
Viral Gray or Light Blue That's it! I hope if you're considering making the leap - this helped a bit. I'd love to hear of your progress!! 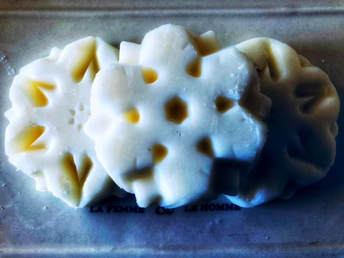 I LOVE to make most of the products we use around the house - it's shocking how easy it is to make body scrubs, deodorant, lotions, facial cleansers, household cleaning supplies, etc.
One of my absolute favorite items are Lotion Bars and it's funny because I hadn't thought about them in a while until my friend Niki gave some of the ones she made (shown above) for Christmas! I can't even properly articulate how much I looooove these bars. I get a lot of compliments on how soft my skin is which sounds a lot more "Buffalo Bill'esque a la Silence of the Lambs" than I intended, but I do. The thing is, I don't have soft skin - I have really DRY skin since moving to Colorado. I use A LOT of lotions and potions to keep my skin in great shape. That said, Lotion Bars make it so incredibly easy to not look like you're a human / lizard hybrid. I have no idea what Niki used in her magical lotion bars but you can start making your own with a handful of ingredients. Ingredients:
Directions:
Additional Tips & Tricks:
|


 RSS Feed